When we do previs in Maya, on jobs such as “Fast & Furious: Hobbs & Shaw”, I find an especially useful tool is Director Studio, which allows one to “drive” a car live in Maya, using a game controller if you wish, and record the data. It simulates physics for you, so it’s akin to vehicular mocap.

This is my favourite shot I designed in previs for Hobbs & Shaw. No-one asked for it, I just thought it would be cool and threw it in, hoping someone would like it. Evidently, they did!
The problem is, as ever (and I’ll get to it again when I discuss mocap), you’re relying on your own ability to “perform” the required action. A lot of artists prefer to just animate vehicles, as a result. I can see the appeal of both.
I knew that a driveable vehicle was certainly going to be necessary though, as it’s the fastest way to get vehicular animation into Unreal, so I set about making one. As mentioned previously I had a suitable truck (one used by the Allies in 1917, a “Dennis Truck”) model I’d found for a couple of dollars, with basic geometry and textures. It wouldn’t do for a final film but for this first pass it would be fine.
The following tutorial was enough for me to get this going. I followed it first using the provided model, and then re-did it with my Dennis truck.
However, I did struggle with an axis issue - the vehicle should face down the x-axis and the wheels should rotate about their x-axis, +x going forward. This just needed a little careful prepping in Maya.
Another problem came up, however - although the Vehicle animation played great in the Sequencer, at render time I was getting some odd effects. With some investigation I realised the following:
Turn “Simulate Physics” off on your recorded objects, including vehicles! Otherwise, at render time, Unreal prioritises that over the keyframes.
It took a day - the day was Sunday, June 7th - but by the end of that first weekend I had a nice-looking level and a reasonable-looking vehicle that I could drive through it.
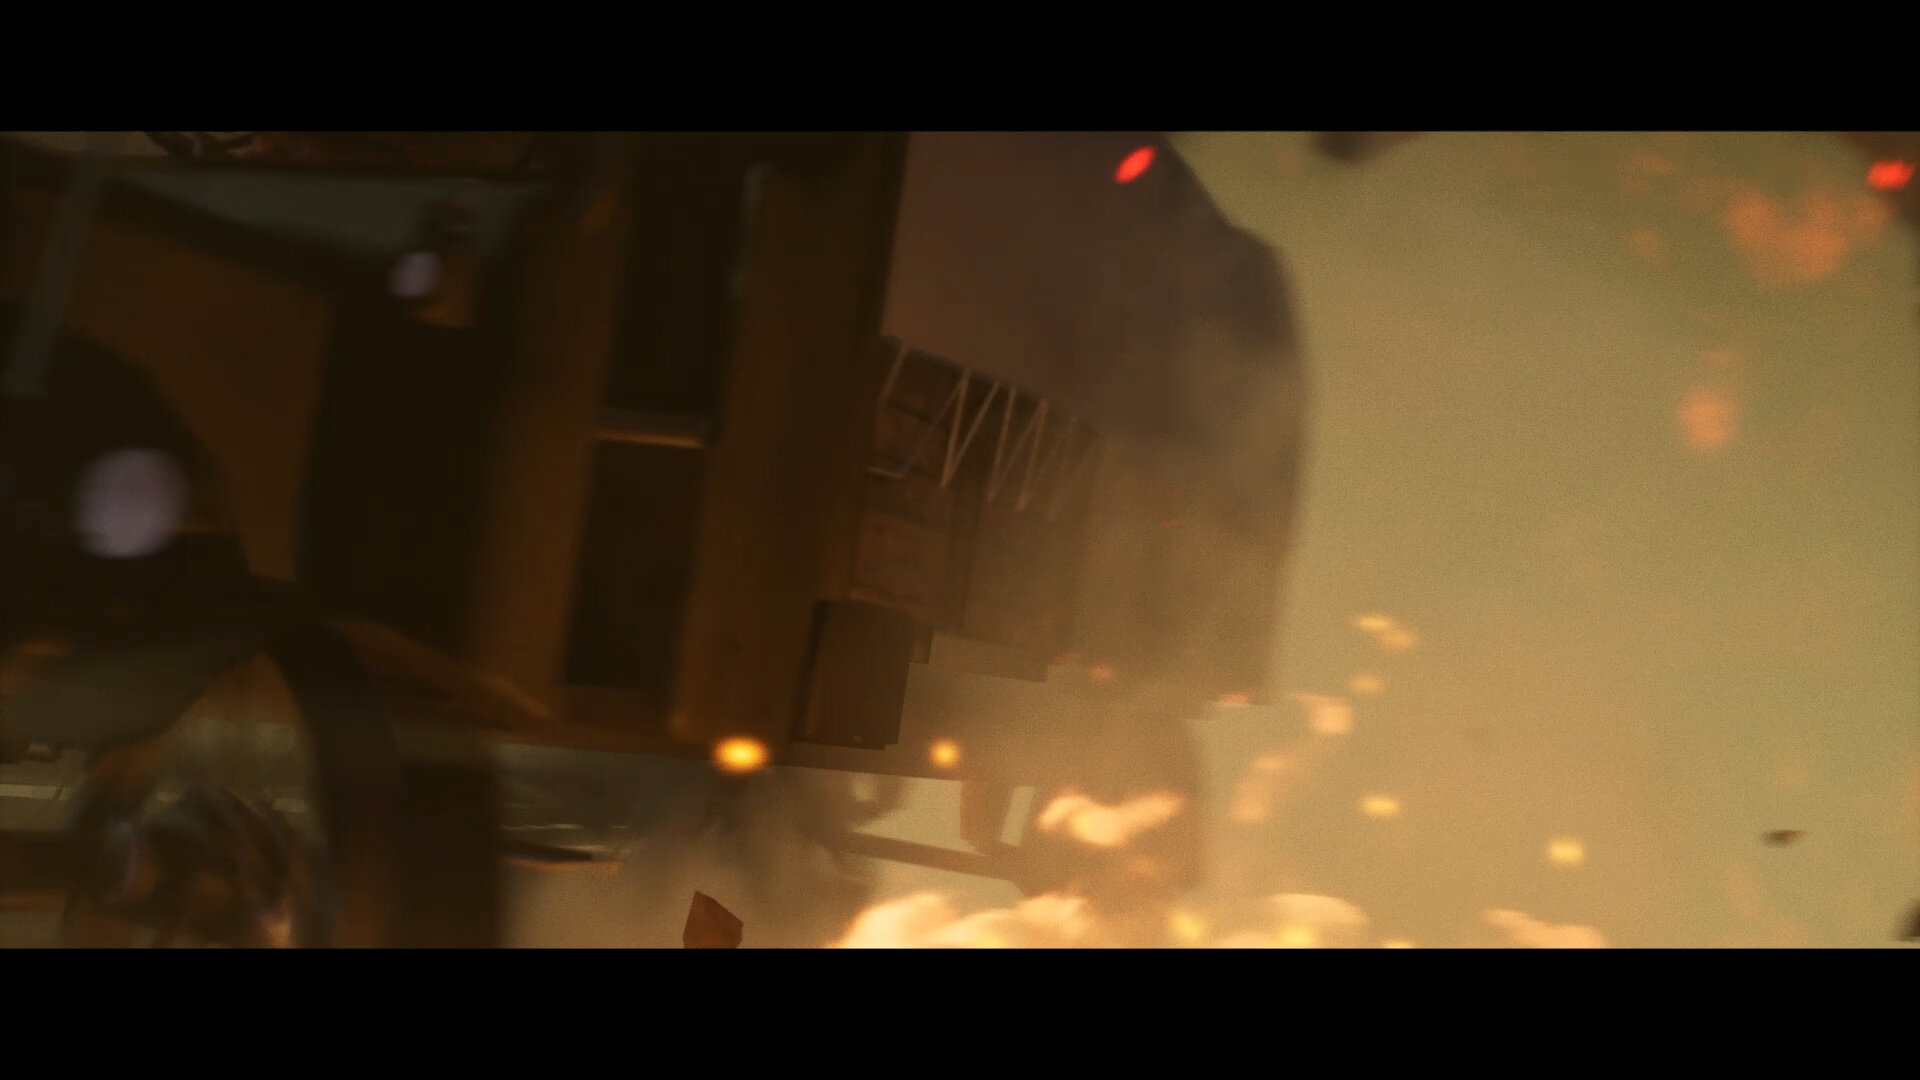
The next day, Monday, I would begin making shots! Here’s a sneak peak of one of my first shots (this is from a week or so later, the shot is the same it just has some effects added, but note that we’re still on the first version of the level here!).
You can see the simulated truck doing its stuff, which is great. I didn’t have a game controller handy though, so I had to use keyboard input, which explains the stuttering wheels. The animation on Duggy is a blend of three Mixamo animations, and the explosions are placeholders from the Explosions Megapack on the marketplace (actual WW1 shell explosions looked a lot different to this and would need some dedicated work doing down the line), the gas mask is from the Marketplace as well.
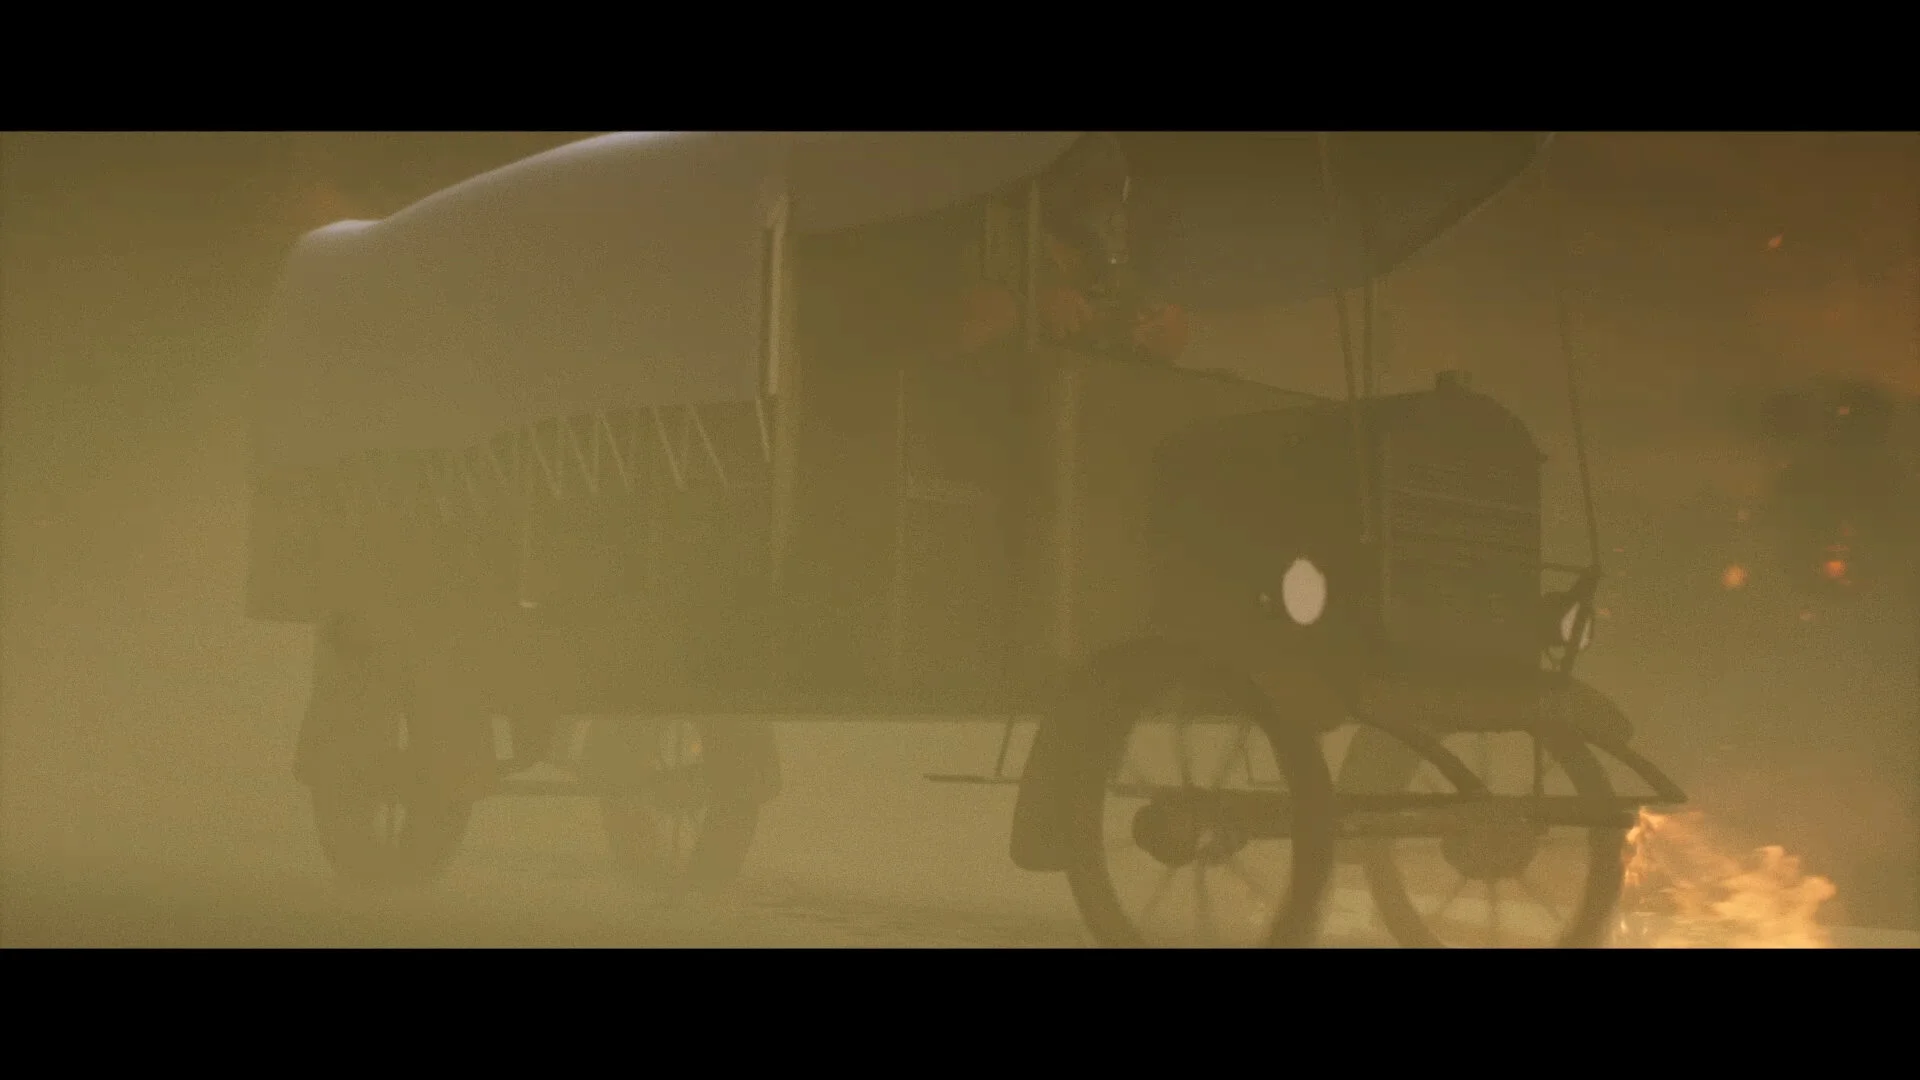
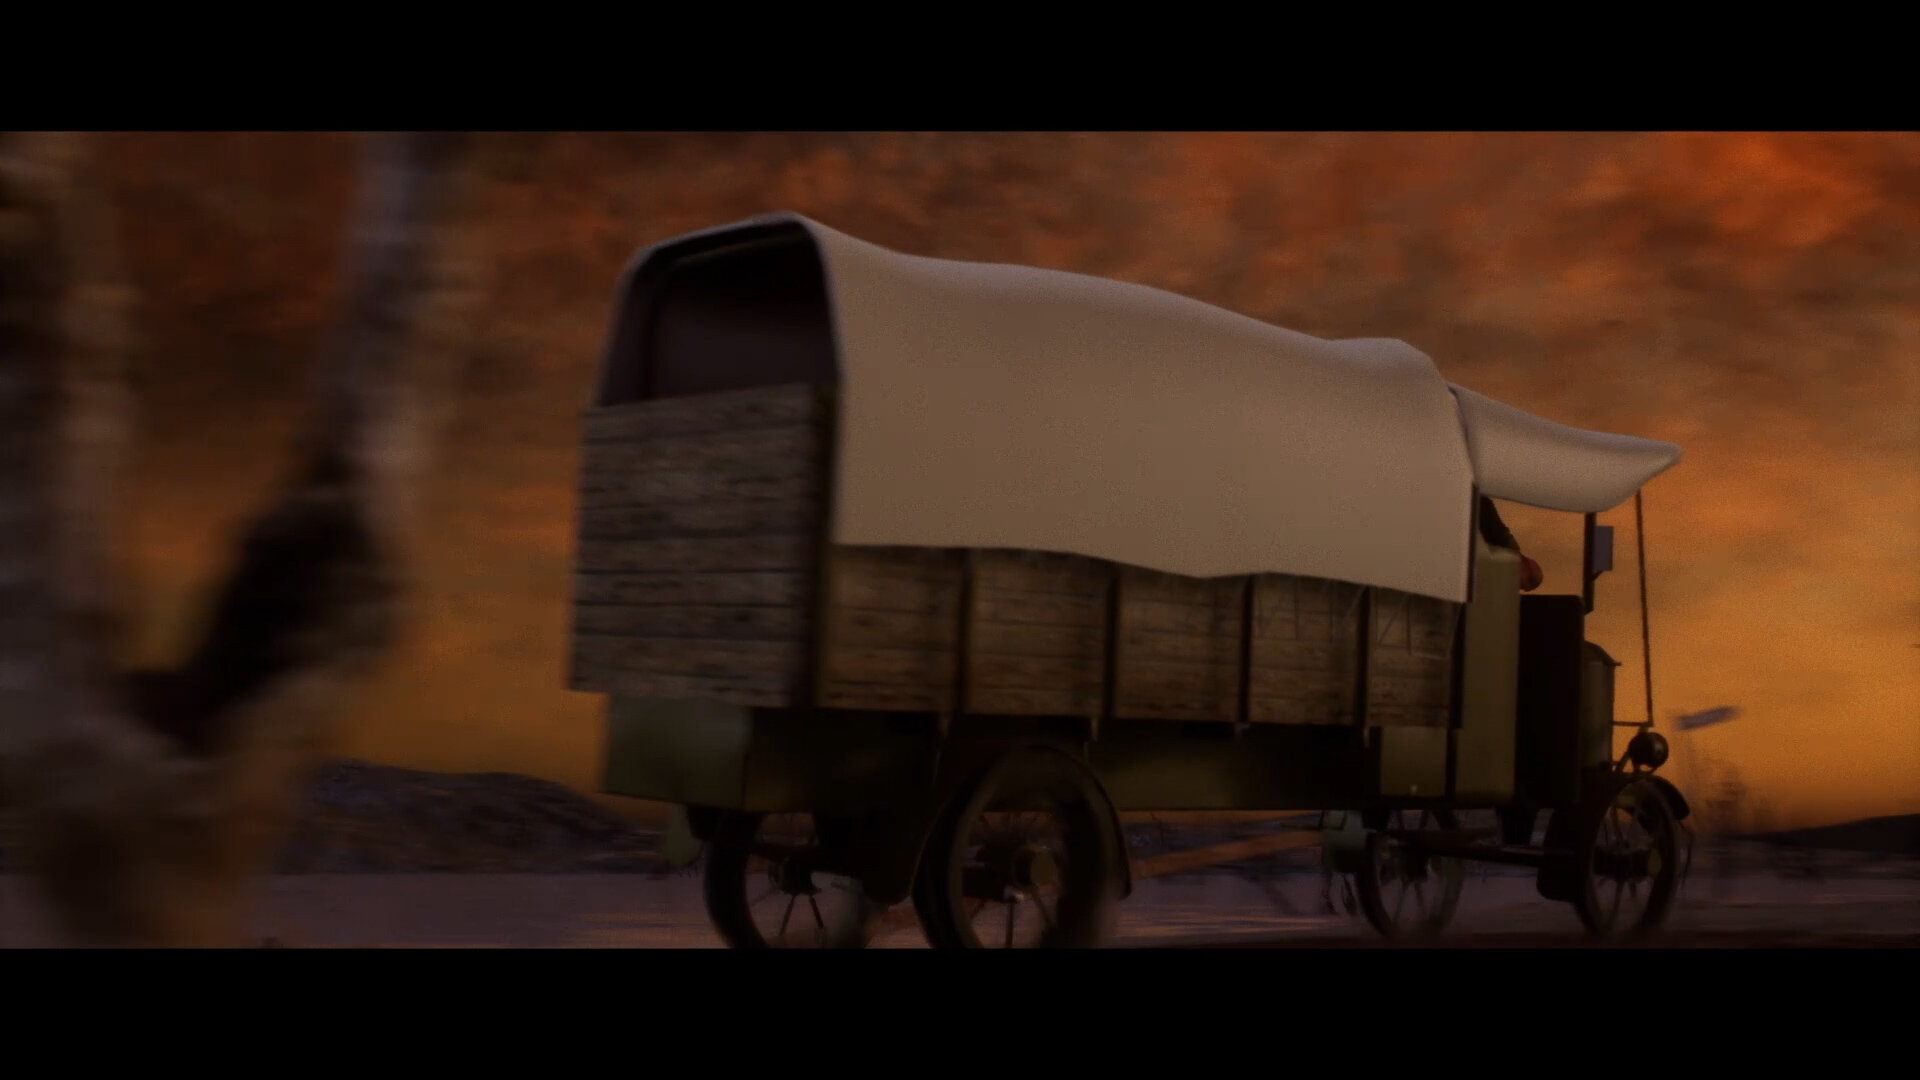
Here’s some shots of the same truck and animation in action from the latest version of the film! Note it still has only basic shaders and of course I’d love to get some cloth sim on that top soon!